Here is a site you may recognise.

Do you know this Phone Box?
The shops are no longer there, but the phone box is.
Clue: You are looking toward the West.
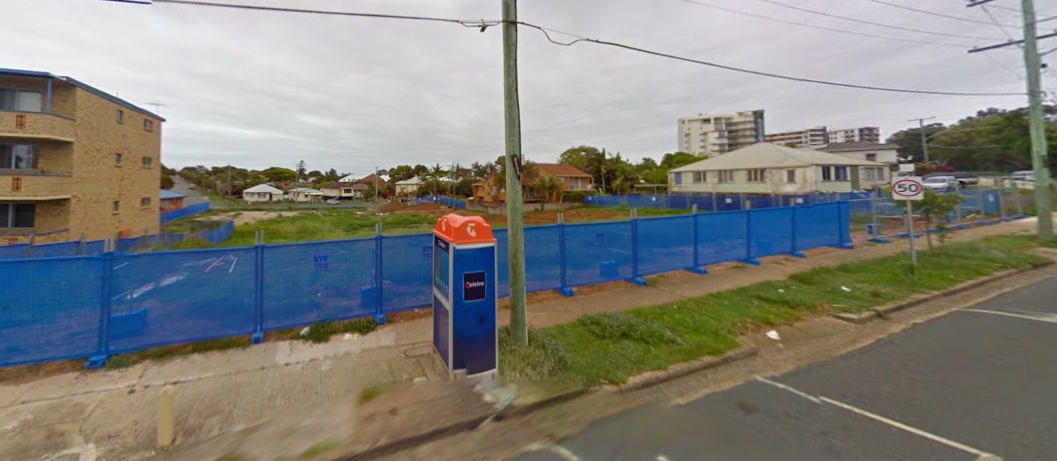
Here it shows the shops gone, and something magnificent about to be built.

Here is a site you may recognise.
The shops are no longer there, but the phone box is.
Clue: You are looking toward the West.
Here it shows the shops gone, and something magnificent about to be built.

The Clothes Dryer that would have come with your Unit purchase is regarded as a fixture and thus part of the Unit you bought.

As part of the Development Approval for the Waves building, the Developers supplied each Unit with an electric clothes dryer. Unit buyers should expect an installed and working clothes dryer in any Unit purchased.
Under the By-laws, it is the Owner’s responsibility to maintain the clothes dryer in good working order, and leave it in place when a unit is sold.
By-law 6 stipulates that the Development Approval must be complied with.

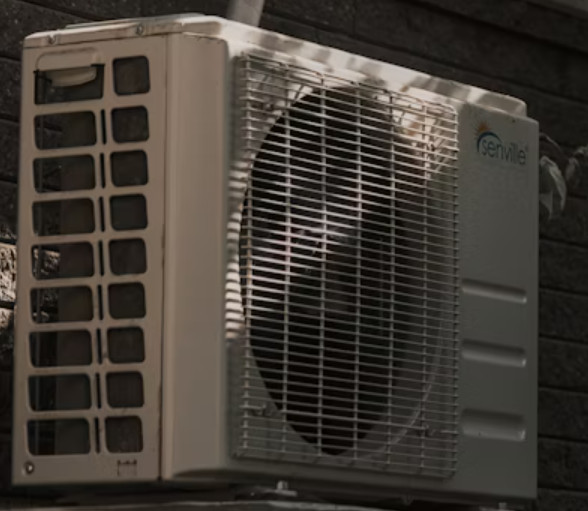
When you turn your AC on, does it only blow air without the Cooling or Heating?
There may be a quick fix for it that will save you calling a technician.
Step-1 Outside near the compressor unit, turn the power OFF.
Step-2 Wait 30 minutes (This will allow the system to fully reset).
Step-3 Turn the power back on and try again operating the inside unit.
If it now cools, clever you.
Thanks go to Barry Mc. for the great tip.

Here we show the three types of Garage Remotes that you might have been issued. Also we show what battery they may use.
When your battery gets low, the indicator light that shows when a button is pressed will blink or flicker. That signifies it is time for a new battery. A steady light will show the battery is okay.


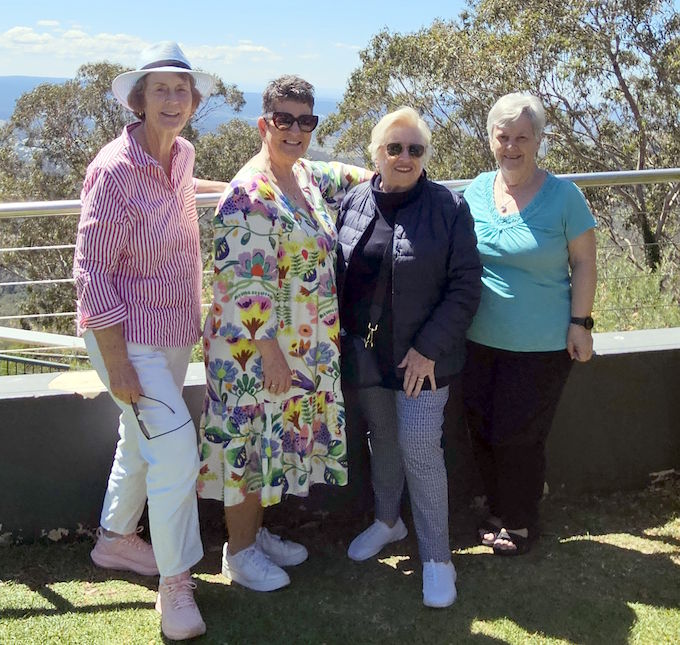
On Monday 22 Sept a group of Waves residents ventured to Toowoomba on a bus tour. The day was organised by Lena Nizeti. Many thanks to Lena for organising the day out.
On the tour were Lena, Candace, Jill, John, Kathy and Lynne. Midge and Mike had planned on joining in but had to cancel at last minute.
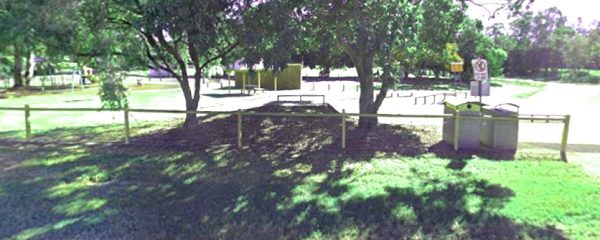
After an early 7:00am start, followed by several pick-ups between Redcliffe and Taigum, we were finally on our way. Coach driver Mark made a stop in Marburg, right at the edge of the Black Snake Creek where some morning teas and cakes were enjoyed. Luckily no one saw any black snakes.
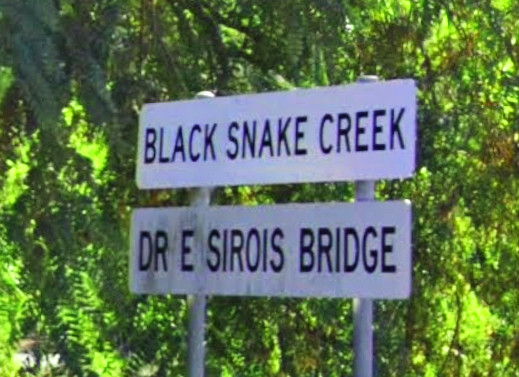
B S Creek, Marburg, QLD
I estimate that several months of planning and research found this underwhelming location for a Morning Tea. It was just a short stroll across the local Skate Park to the toilets, shown in the background.
Then it was off to Picnic Point, Toowoomba for the first “Flower” stop. On a clear day there you can see for miles. Luckily it was a clear day.
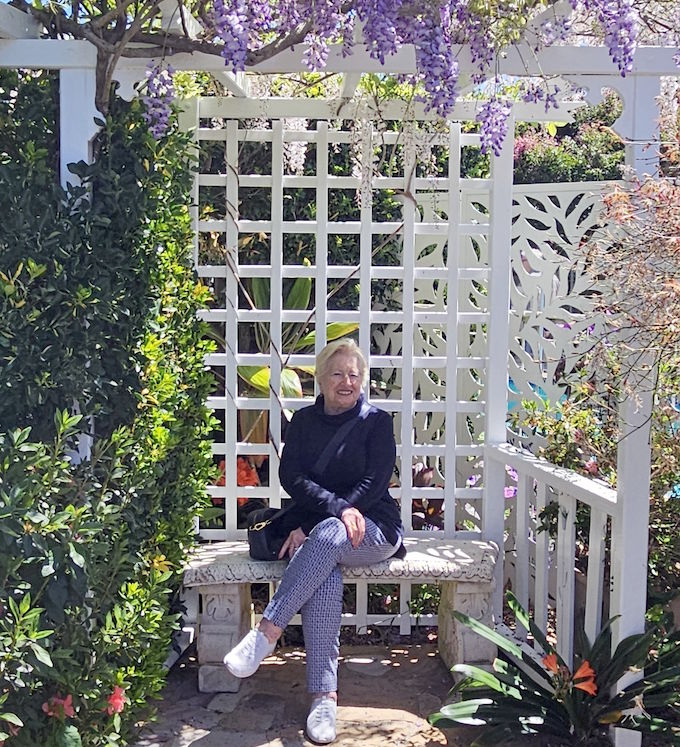
After Picnic Point, the tour stopped at the home of the winner of the Festival home garden competition.
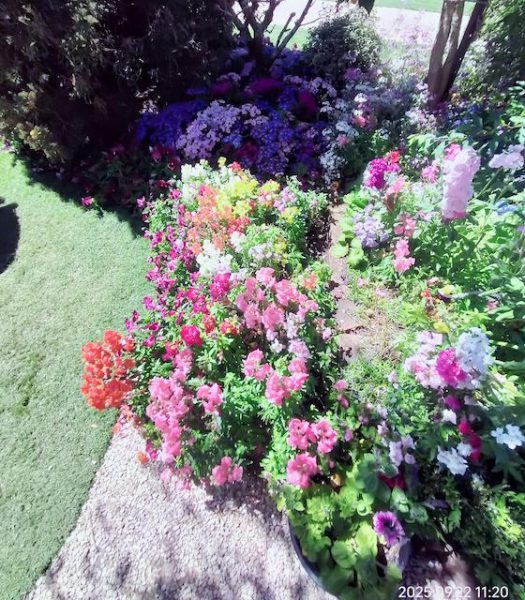
The front garden area of the home on Burke St had every square cm filled with different flowering plants. It was very colourful. A plea from the Owner for some regular volunteer gardeners did not elicit any takers.
Next stop was at Queens Gardens where we parked near the Botanic Gardens.
There were many very colourful garden beds around the Botanical Gardens area.
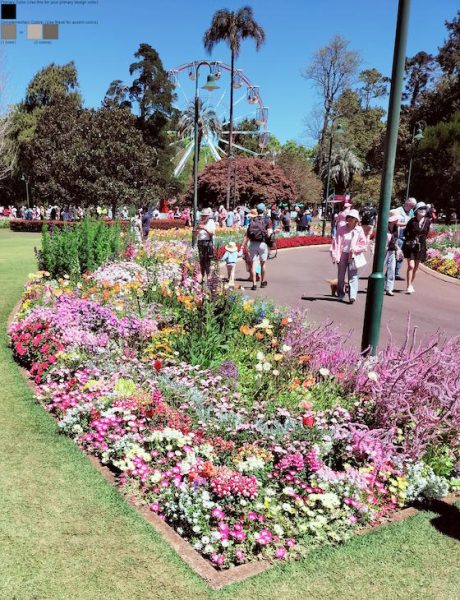

Many garden beds had carefully placed plants with attractive designs.
Ten minutes back on the bus and we were at the “Blue Mountain Hotel” for our included lunch.
Lunch was served “alternate-drop” and you got either a chicken schnitzel and chips, or a few slices of roast pork with vegies.
Those with the Chicken Schnitzel mostly managed to stretch the meal to three mouthfuls. Those with the roast pork were able to separate the pork to show three slices.
The next and final “flower” stop was at Laurel Bank Park. Here many more flowering attractions than were at the Botanic Gardens. We had an hour here to explore the many garden beds and attractive grounds. In the south-west corner of the park were some garden beds with several different coloured tulips.
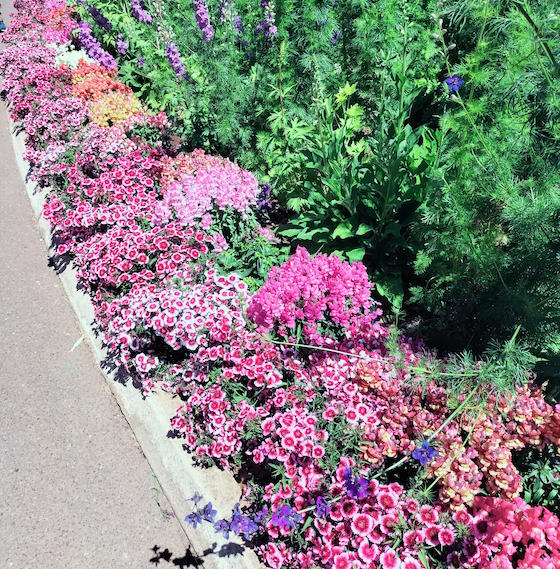
There was a wide variety of plantings at the Laurel Bank Park. An hour here passed quickly as there was a lot to see, and it is a large area. Luckily it was not very crowded and there were many shaded seating spaces.
Now as 3:15pm approached, it was time to get back on the coach and head home. we managed to hit the City area right on 5pm so traffic was considerable. We had several drop-off stops starting in Aspley, then Taigum, Sandgate, Brighton, Clontarf, Margate and finally to the Redcliffe stop at 6:10pm. It had been a longgg day and most were exhausted.
The tour was provided by Red and White Tours, Sandgate. Our driver was Mark and he was assisted by Abigail.

TPG Has a great offer at present for new subscribers to the Fibre To The Building (FTTB) here at Waves Redcliffe. The first six months are Free. Yes $0 per month. You only pay $10 for a modem/router delivery.

Click the image to see the TPG site where this offer is available. You will need to pay a $10 delivery fee for a new WiFi modem they will supply.
As more units get connected to the TPG FTTB, we will possibly have the fibre connection upgraded to be capable of 500 Mbps, but for now the maximum available speed at Waves is 100 Mbps. And that’s plenty fast enough.


Thinking of replacing some carpet in your Waves Unit?
If so, then please be aware that there are fire safety requirements issued by Building Codes Australia.
Waves is a Class-2 building. We do not have fire-sprinklers within Units.
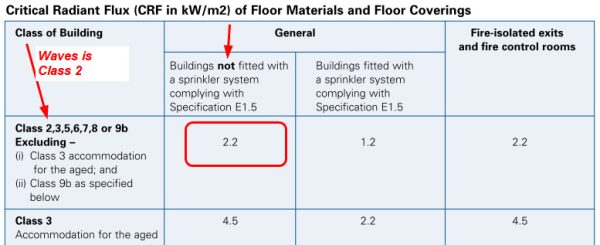
This extract from the Minimum CRF table as provided by Building Codes Australia shows that Units should have carpets/floor coverings with a CRF of at least 2.2
The Brochure from Building Codes Australia can be downloaded here:-
You should advise any retailer of the 2.2 CRF minimum when selecting carpets.
Installing a carpet that does not meet the recommended standards places you at risk in case of a fire. It would not impact other units within the building.
Due to a large area of balcony tiles tenting a few weeks ago, and an inspection by a Tiler to assess the best option for repair, we opted to do a complete retile. Our unit is on the North of Waves and gets significant sun in the winter. Tiles expand more than the concrete slab beneath and they become un-stuck. The unit directly below us had the same issue a few years ago and had to do a complete retile of their balcony.
We found a nice grey replacement tile at Tile Merchants, in Virginia. Size is 450mm square. The colour is slightly darker than the original tiles, and very close to the shale-grey used around the Waves building.
Step one was to have the air conditioner disconnected and stored away from the balcony. This proved more costly than anticipated, but was necessary.
Then we had to clear the balcony of all our furniture and plants and storage boxes. Luckily we had room in our parking bay for some of this temporary relocation of “stuff”.
The start day arrived and we had a skip bin delivered to get rid of the old tiles and dust. This was an extra expense we were advised of as we had to organise the bin.
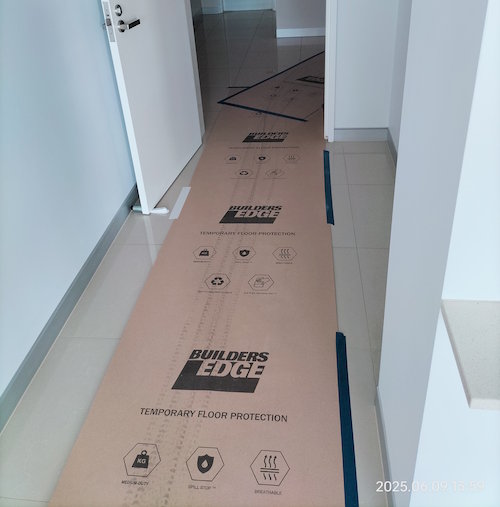
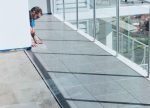
Having previously had bathroom renovations, we were mindful of protecting our flooring. We found a roll of temporary floor protection at Bunnings. We had a path from the lift to the balcony doors.
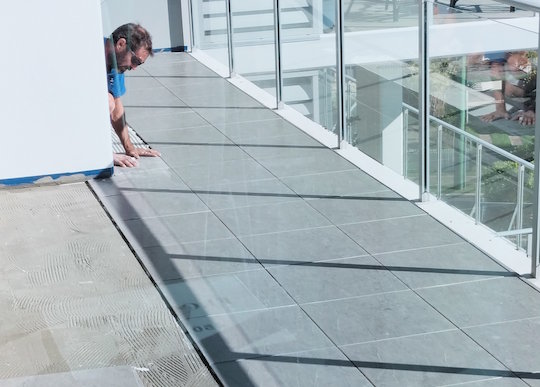
Jack hammering started about 8:00am on Monday. By about 11am all the tiles had been lifted. The crew left that afternoon and cleaned up the tiles the next morning and dumped them in the skip bin.
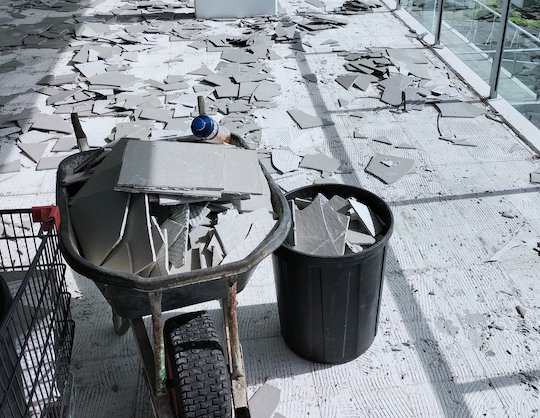
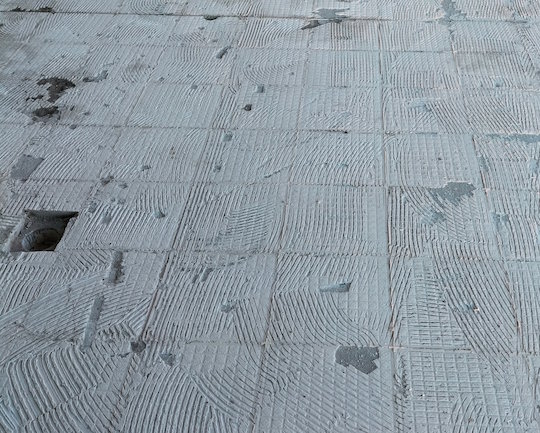
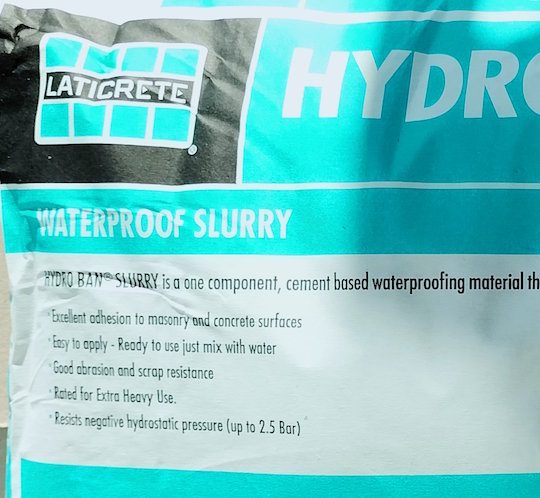
Next stage was to sweep the area ready for grinding. They only ground back to the glue/screed layers ready for levelling and application of waterproofing. Two applications of waterproofing were applied over two days using “Hydra Ban Slurry”.
The waterproofing was done with 2 coats of Hydra Ban Slurry. It looked very effective once it had soaked in and dried.
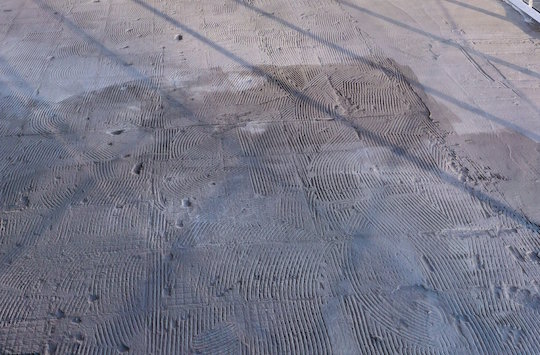
Here we show the waterproofed area during drying, ready for some levelling fill and then the new glue and tiles.
Three rows along the balcony edge are done on Day-4. Looking great.
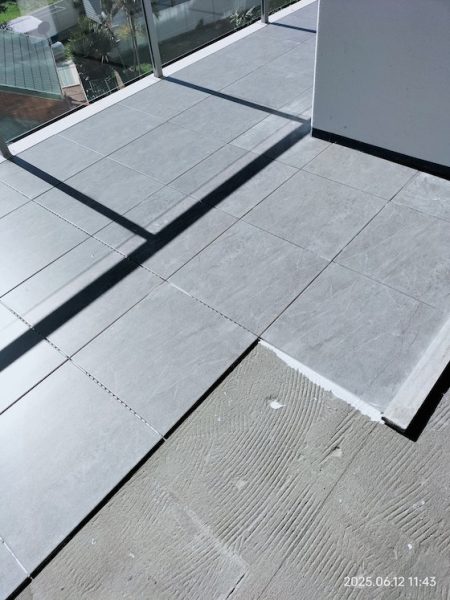
A closer photo of a completed area, ready for grout on Day-5.
As I post this article we are at the end of Day-4. Tomorrow will be the grouting of the tiles, which should be done by lunchtime. Then on Day-6 they plan to return to finish off with some sealant around all the edges. All in all it took less time than expected and the workmanship is great.
Should you want a quote for your balcony then the contractor we used was “Starsh”, and his phone number is 0431 165 919. He was recommended to us by “Tile Merchants” where we bought our tiles.


Please do not feed the birds. Yes, they are great to see and hear, but they should not be encouraged.
Doing so can attract them back to other residents balconies where they can leave a mess on the balcony rail or glass.
They can feed themselves in Nature.


