Here is a site you may recognise.

Do you know this Phone Box?
The shops are no longer there, but the phone box is.
Clue: You are looking toward the West.
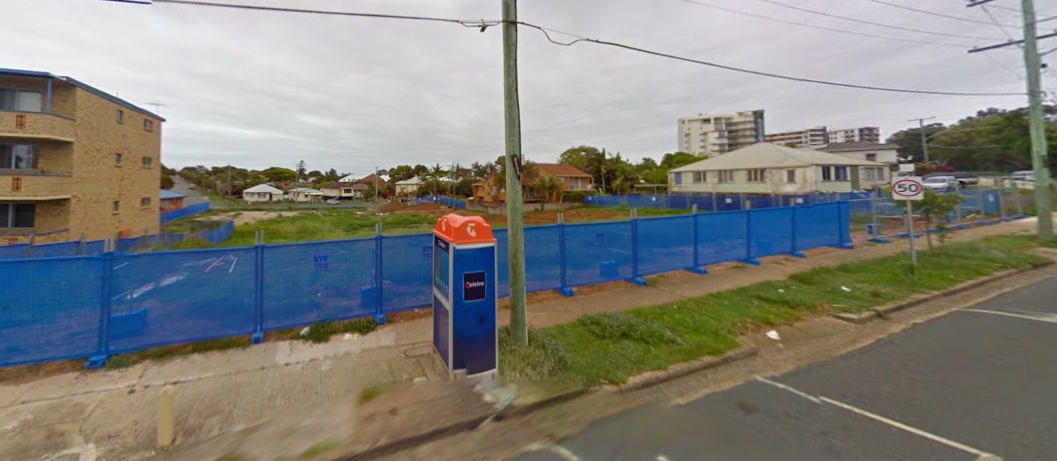
Here it shows the shops gone, and something magnificent about to be built.

Here is a site you may recognise.
The shops are no longer there, but the phone box is.
Clue: You are looking toward the West.
Here it shows the shops gone, and something magnificent about to be built.
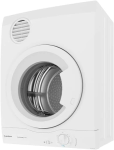
The Clothes Dryer that would have come with your Unit purchase is regarded as a fixture and thus part of the Unit you bought.

As part of the Development Approval for the Waves building, the Developers supplied each Unit with an electric clothes dryer. Unit buyers should expect an installed and working clothes dryer in any Unit purchased.
Under the By-laws, it is the Owner’s responsibility to maintain the clothes dryer in good working order, and leave it in place when a unit is sold.
By-law 6 stipulates that the Development Approval must be complied with.
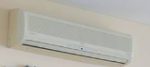
When you turn your AC on, does it only blow air without the Cooling or Heating?
There may be a quick fix for it that will save you calling a technician.
Step-1 Outside near the compressor unit, turn the power OFF.
Step-2 Wait 30 minutes (This will allow the system to fully reset).
Step-3 Turn the power back on and try again operating the inside unit.
If it now cools, clever you.
Thanks go to Barry Mc. for the great tip.

Here we show the three types of Garage Remotes that you might have been issued. Also we show what battery they may use.
When your battery gets low, the indicator light that shows when a button is pressed will blink or flicker. That signifies it is time for a new battery. A steady light will show the battery is okay.


Thinking of replacing some carpet in your Waves Unit?
If so, then please be aware that there are fire safety requirements issued by Building Codes Australia.
Waves is a Class-2 building. We do not have fire-sprinklers within Units.
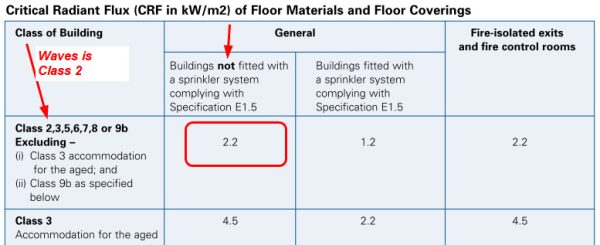
This extract from the Minimum CRF table as provided by Building Codes Australia shows that Units should have carpets/floor coverings with a CRF of at least 2.2
The Brochure from Building Codes Australia can be downloaded here:-
You should advise any retailer of the 2.2 CRF minimum when selecting carpets.
Installing a carpet that does not meet the recommended standards places you at risk in case of a fire. It would not impact other units within the building.
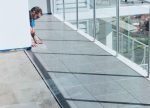
Due to a large area of balcony tiles tenting a few weeks ago, and an inspection by a Tiler to assess the best option for repair, we opted to do a complete retile. Our unit is on the North of Waves and gets significant sun in the winter. Tiles expand more than the concrete slab beneath and they become un-stuck. The unit directly below us had the same issue a few years ago and had to do a complete retile of their balcony.
We found a nice grey replacement tile at Tile Merchants, in Virginia. Size is 450mm square. The colour is slightly darker than the original tiles, and very close to the shale-grey used around the Waves building.
Step one was to have the air conditioner disconnected and stored away from the balcony. This proved more costly than anticipated, but was necessary.
Then we had to clear the balcony of all our furniture and plants and storage boxes. Luckily we had room in our parking bay for some of this temporary relocation of “stuff”.
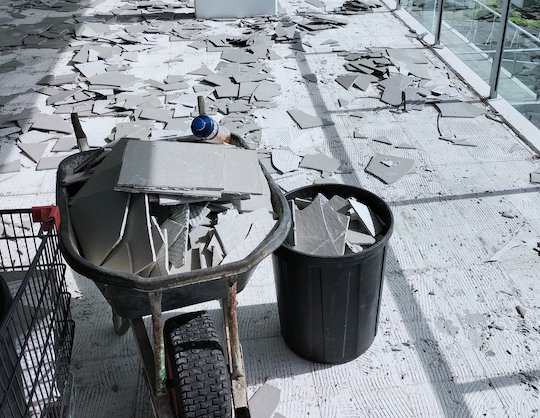
The start day arrived and we had a skip bin delivered to get rid of the old tiles and dust. This was an extra expense we were advised of as we had to organise the bin.
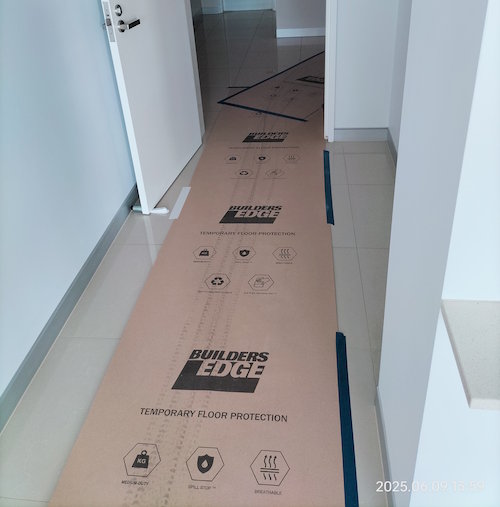
Having previously had bathroom renovations, we were mindful of protecting our flooring. We found a roll of temporary floor protection at Bunnings. We had a path from the lift to the balcony doors.
Jack hammering started about 8:00am on Monday. By about 11am all the tiles had been lifted. The crew left that afternoon and cleaned up the tiles the next morning and dumped them in the skip bin.
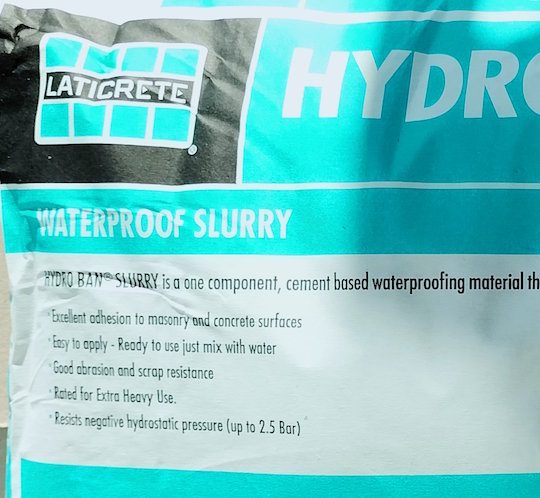
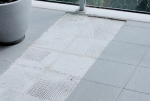
Next stage was to sweep the area ready for grinding. They only ground back to the glue/screed layers ready for levelling and application of waterproofing. Two applications of waterproofing were applied over two days using “Hydra Ban Slurry”.
The waterproofing was done with 2 coats of Hydra Ban Slurry. It looked very effective once it had soaked in and dried.
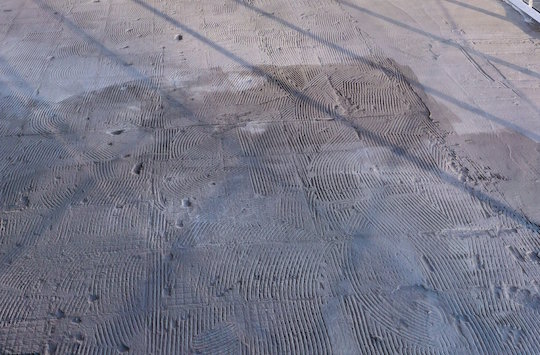
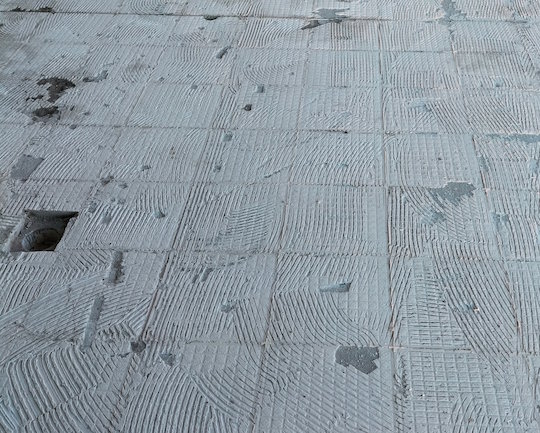
Here we show the waterproofed area during drying, ready for some levelling fill and then the new glue and tiles.
Three rows along the balcony edge are done on Day-4. Looking great.
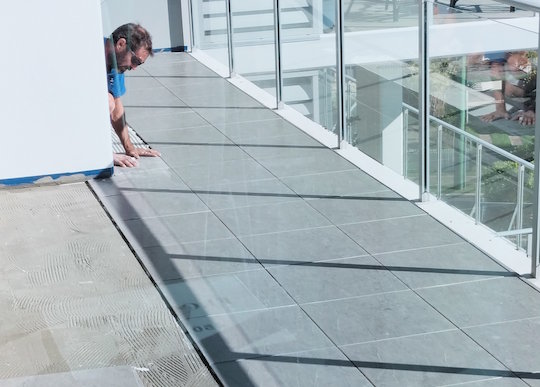
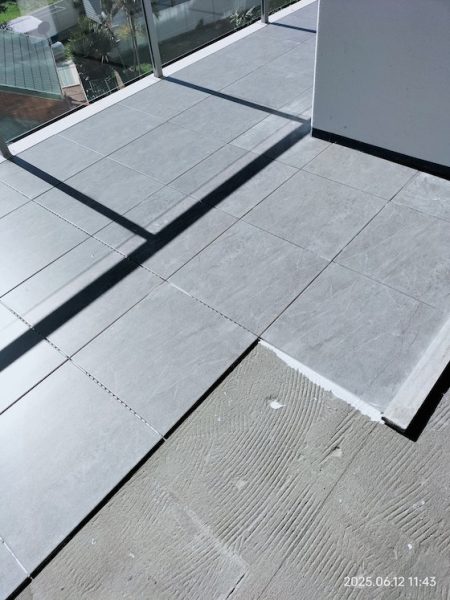
A closer photo of a completed area, ready for grout on Day-5.
As I post this article we are at the end of Day-4. Tomorrow will be the grouting of the tiles, which should be done by lunchtime. Then on Day-6 they plan to return to finish off with some sealant around all the edges. All in all it took less time than expected and the workmanship is great.
Should you want a quote for your balcony then the contractor we used was “Starsh”, and his phone number is 0431 165 919. He was recommended to us by “Tile Merchants” where we bought our tiles.


Please do not feed the birds. Yes, they are great to see and hear, but they should not be encouraged.
Doing so can attract them back to other residents balconies where they can leave a mess on the balcony rail or glass.
They can feed themselves in Nature.


If you are planning to repaint your unit, as we have recently done, then there is one great TIP you should consider.
That is, to have your painter use a gloss/semi-gloss paint on the Laundry walls.
This helps prevent the nasty build up of lint from the clothes dryer. Walls can now be easily wiped over to remove the lint.


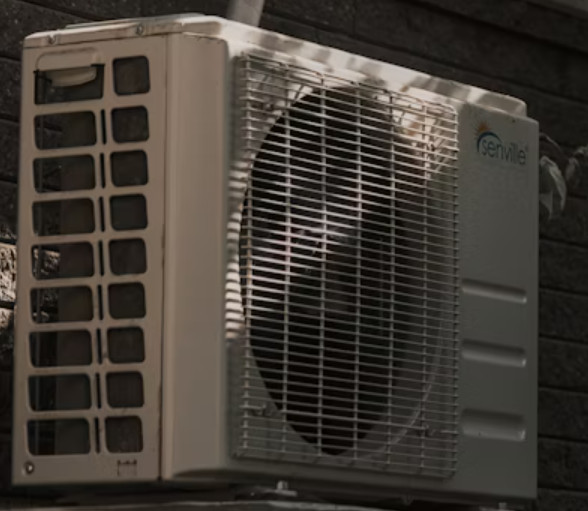
If you still have your originally installed air conditioner, then it will be a Fujitsu.
The units are Owner responsibility and as such you are advised to ensure they are covered by any contents insurance you may have.
These air conditioner units should be serviced every year or two to keep them in good working order.


